React-Bricks , Create a site in 20min


Wanna create a site that is ,powered by Next.js , with sever-side-rendering ,React components and Tailwind CSS for styling . Along with the power of Typescript ?
What is React Bricks ?
React Bricks is a content material administration system that lets builders create a visible website builder content material editors can use code-free.
At First Glance :
Coming from the world of headless CMS (wordpress) , i had pre- cognitive bias about the workings of React Bricks . As it too at first glance appeared to be something similar to that of Wix . But i was wrong upfront . As when is start working with it down right from the start i was amazed by what i can do with react bricks .
Lets Start
1 . Create an account and setup your repl.it IDE
2. Create a React-Bricks account , using shell setup back-end inside repl project .
3. Welcome to React-Bricks .
4. Welcome to the PlayGround .
5. Building Blocks of your site
6 . Final Tweaks
1 . Create an account and setup your repl.it IDE
To keep the final outputs uniform , we will use repl.it

Go to this link , https://replit.com/~
Create an account or Login
Hit the create button , select Node.js click ‘Create Repl’ .

inside you’ll see this ,
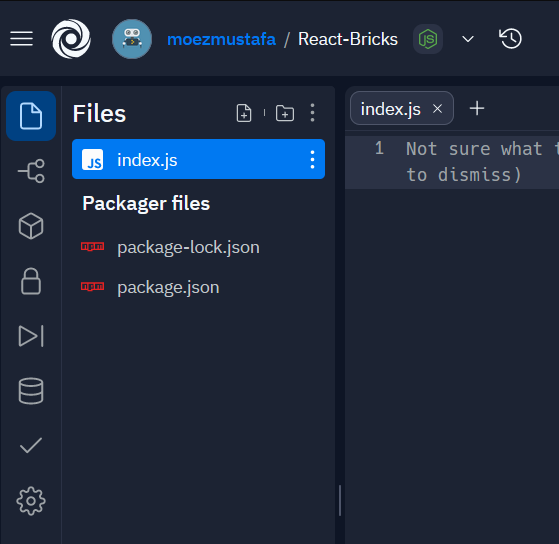
on your right most side you will see these two tabs .
You have console and Shell . Inside Shell you have to configure ‘git’ . Without this step you cannot use the react-bricks .
git config --global user.email "you@example.com"
git config --global user.name "Your Name"

2. Create a React-Bricks account , using shell setup back-end inside repl project .
Go to the React-Bricks site , and create an account . Keep this email and password . You will need this to log-in via the shell inside your repl.

after login you’ll see this , create a new app
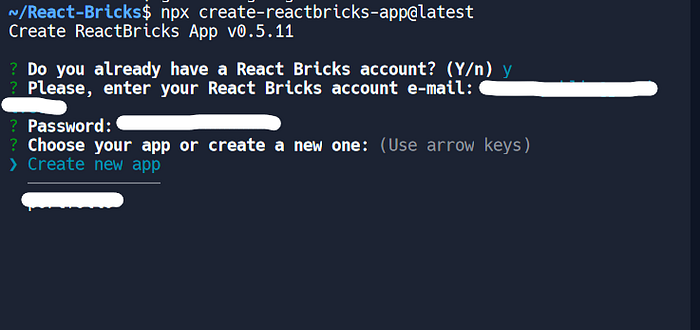
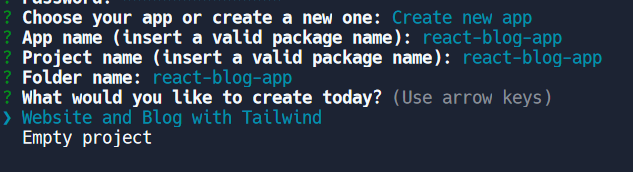
Now select a ‘Website and Blog with Tailwind’ .
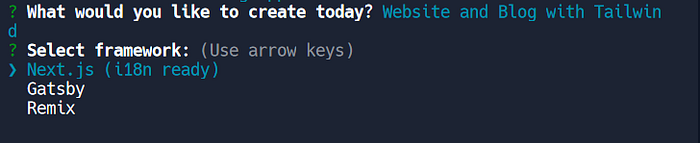
Select the ‘Next.js’ as framework . and press Enter .
Press ‘Y’ and load the default content .

Sit back and let these load ….
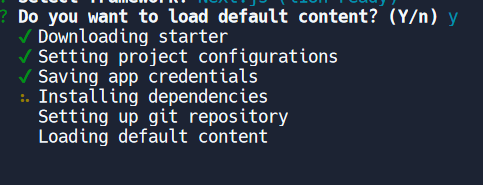
Wohoo 🚀 , if you see this the app has been created successfully .
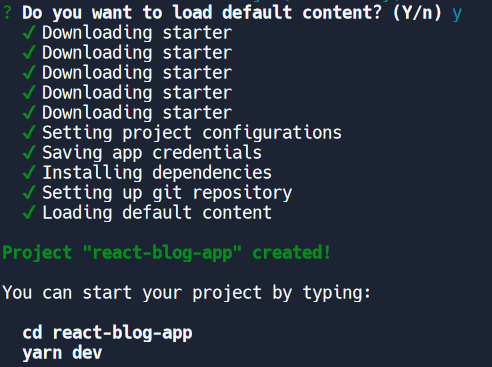
To run the app : cd into the app folder that you have created ,
cd 'your-app-folder-name'
and the enter the following command :
yarn dev
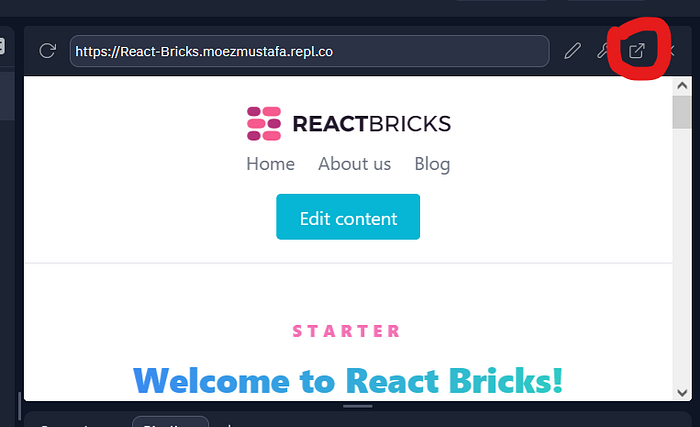
This window will appear , now if you see on the top right you’ll find the encircled icon . Click on it open the React-Bricks app in a seprate window .
3. Welcome to React-Bricks

Hey , isnt this exciting already ? this is your React Bricks page . This can be tweaked in anyway you want . So lets dive in .
Click the ‘Edit Content’ button to open the gates to Narnia , Lol .
youll be asked to login , enter your React-Bricks .
Login and Lets Gooooooo !
4. Welcome to the PlayGround

See that page heading , see that little icon , click it . Give a name to you page .
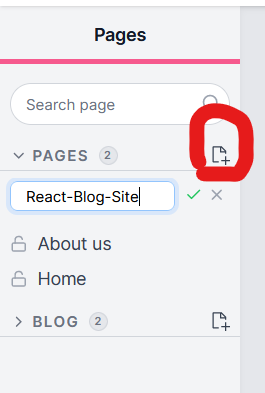
This is your sandbox , you can build anything , no code needed .
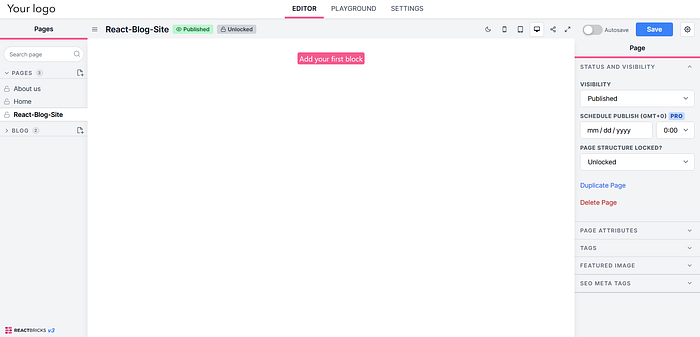
5. Building Blocks of your site
Click the ‘Add your first block’ . Look at that list of pre-made , pre-coded blocks that you can use in your site .

Play around with the Blocks and Create something Awesome.
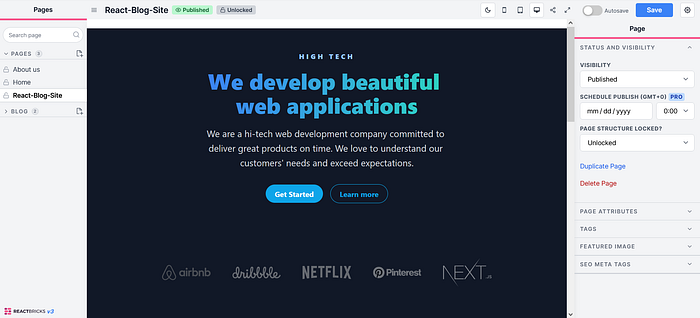
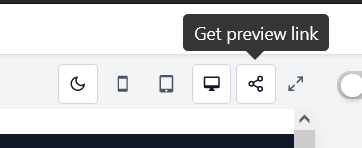
Get the Preview Link
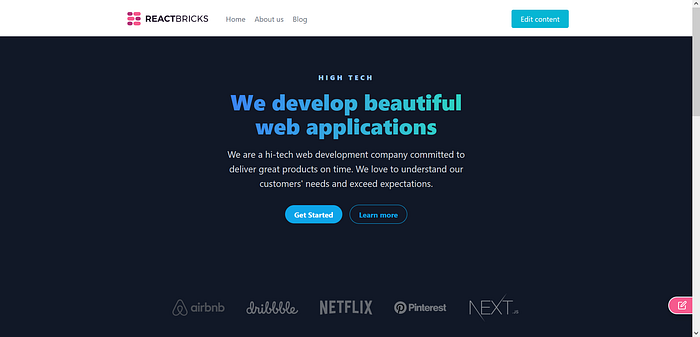
Wohoooo , The site is alive 🚀🚀🚀🚀
6 . Final Tweaks
That header and footer looks ugly though , right ?
Lets tweak our code in the Repl and get rid of them .
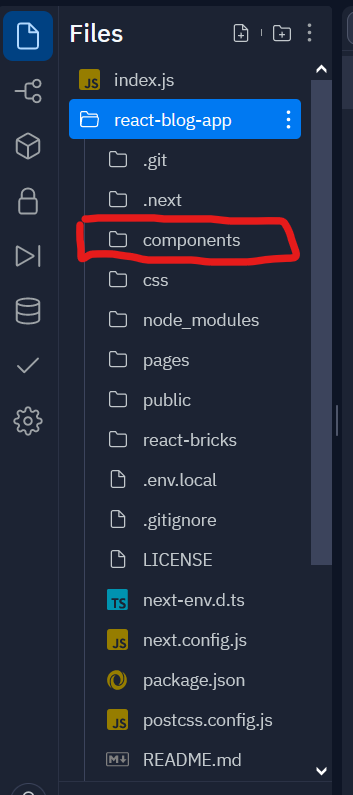
Hop into you Repl , get inside the project folder .

You’ll see the components folder .
Inside components youll find ‘layout.tsx’ . Open it …
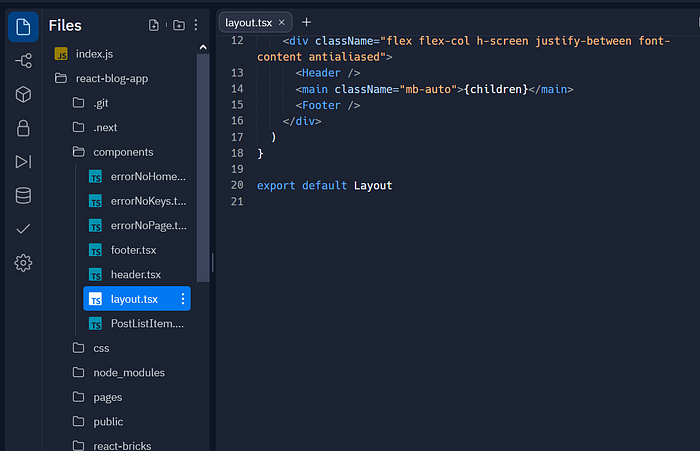
Now just remove the < Header /> and <Footer /> and you are done .
Those ugly header and footer are gone .
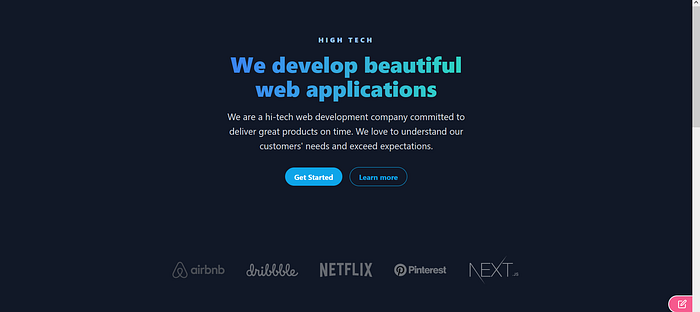
But now how you’ll get into your Editor ?
youll have this url at the top .
Just add /admin/editor at the end of it .
Now play with you new toy , customize it to your taste and you are good to go .
So this was how you can create a site that is ,powered by Next.js , with sever-side-rendering ,React components and Tailwind CSS for styling . Along with the power of Typescript.